Are you dreaming of a thriving garden on your remote homestead but dread the constant chore of hauling water? Or perhaps you want to enjoy your off-grid property without being tied to daily watering duties?
You’re in the right place! We’ve cracked the code to effortless, sustainable gardening with an automated solar pump watering system designed specifically for raised bed gardens. This DIY guide will walk you through every step of installing your own system, ensuring your plants get the water they need, precisely when they need it – all powered by the sun!
Say goodbye to manual labor and hello to automated gardening success!
Why an Automated Solar Pump for Your Raised Beds?
Living remotely or off-grid means resourcefulness is key. A solar-powered watering system offers incredible benefits:
- Sustainability: Harnesses clean solar energy, reducing your environmental footprint.
- Automation: Set it and forget it! Your garden gets watered on a schedule, even when you’re away.
- Water Conservation: Drip irrigation delivers water directly to the plant roots, minimizing waste.
- Off-Grid Freedom: No need for grid power; perfect for remote locations far from utilities.
- Healthier Plants: Consistent watering prevents stress, leading to more robust growth and better yields in your raised beds.
Understanding Your System Components
Before we dive into the installation, let’s quickly review the core components you’ll be working with:
- Solar Panel: Converts sunlight into electricity to power your pump.
- Water Pump: Moves water from your source (e.g., rain barrel, cistern) to your garden.
- Water Source: A reliable supply of water.
- Charge Controller (Optional but Recommended): Regulates the power from the solar panel to the battery (if using) and/or pump, protecting components.
- Battery (Optional): Stores solar energy for watering during cloudy days or at night. For a simple direct-drive pump, this may not be needed.
- Automated Timer/Controller: Turns the pump on and off at scheduled times.
- Drip Irrigation Components: Mainline tubing, smaller drip lines, emitters, fittings, and stakes for your raised beds.
The Full Video Guide: Watch Before You Build!
Want to see this entire process in action? Before you start digging, check out my comprehensive YouTube video where I demonstrate every step of installing this automated solar pump system on my own remotely managed and operated homestead.
Step-by-Step Automated Solar Powered Raised Bed Watering and Irrigation Installation Guide
Let’s get your system up and running!
Step 1: Planning Your Layout & Sourcing Water
First, map out your system.
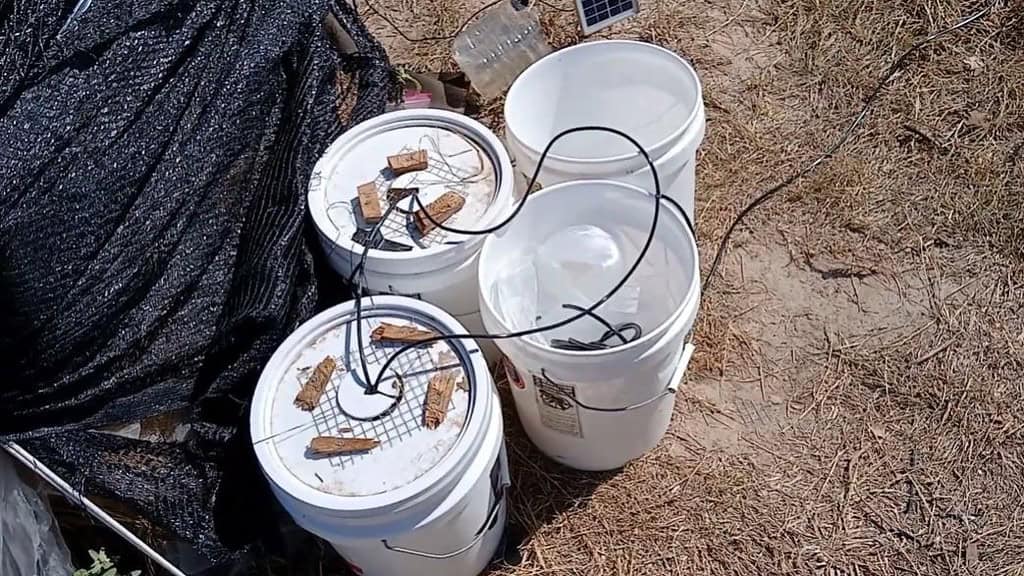
- Water Source: Where will your water come from? A rain barrel, IBC tote, or cistern is common for off-grid setups. Position it elevated slightly above your pump if possible, to aid with priming (though many solar pumps can draw water from below).
- Solar Panel Placement: Your solar panel needs maximum sun exposure throughout the day, ideally facing south (in the Northern Hemisphere) at an angle. Ensure it’s not shaded by trees or buildings.
- Pump Location: Place the pump as close to your water source as practical, and within a reasonable distance of your raised beds.
- Raised Beds: Note the layout of your raised beds and how you’ll run mainline tubing to them.
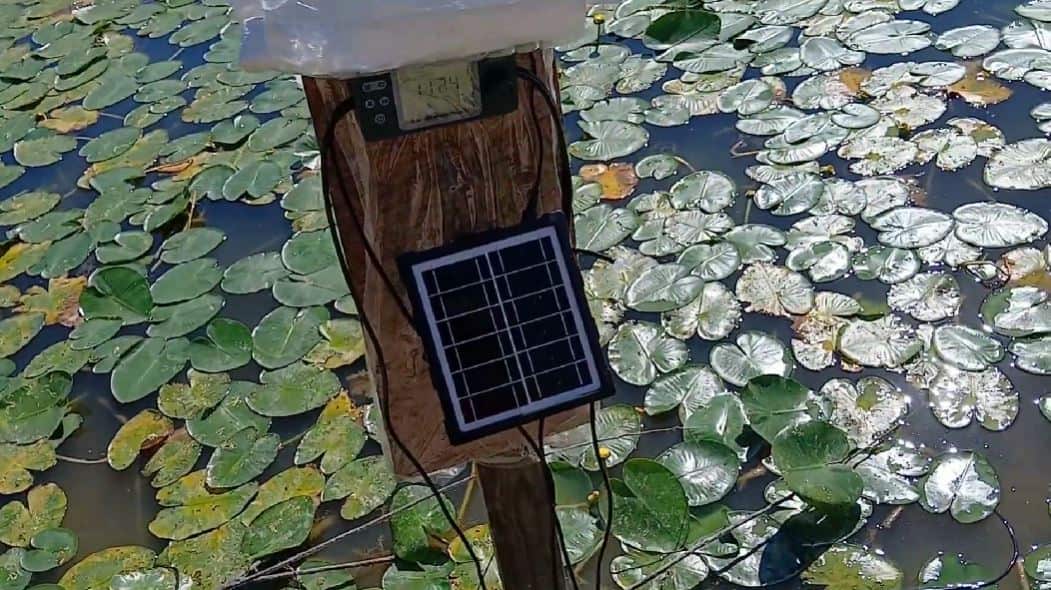
Step 2: Setting Up Your Solar Power System (Panel & Pump)
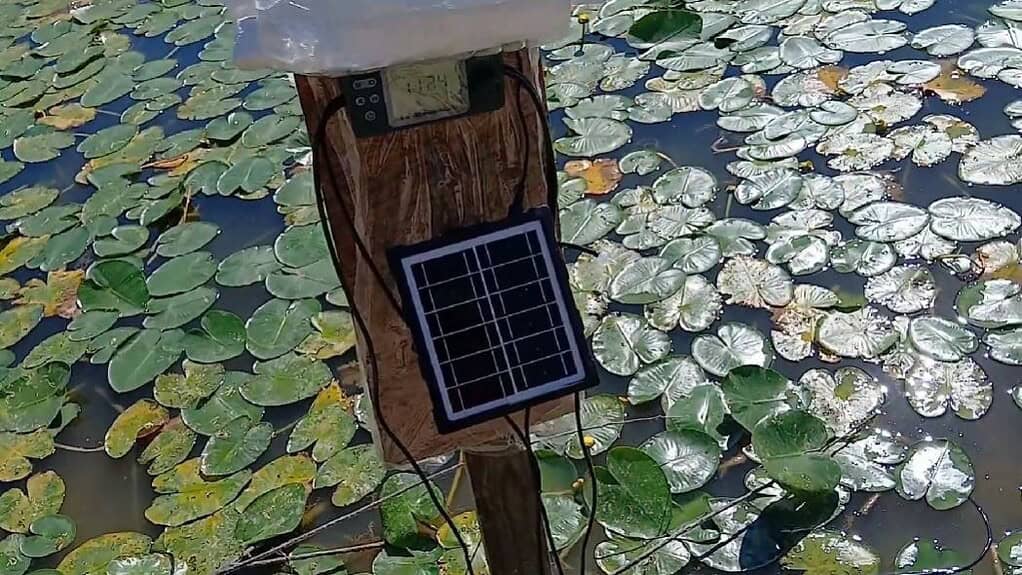
- Mount the Solar Panel: Securely mount your solar panel on a pole or frame. Use an adjustable mount if possible to optimize its angle for seasonal sun changes.
- Connect the Pump: Follow your pump’s manufacturer instructions for wiring.
- For a simple direct-drive system, you’ll connect the solar panel directly to the pump’s controller (or the pump itself if no separate controller).
- If you’re using a battery, connect the solar panel to a charge controller, the charge controller to the battery, and then the battery to your pump/timer. Ensure all connections are secure and weatherproof.
- Position the Pump: Place your pump on a stable, level surface near your water source. If it’s exposed to the elements, consider a small protective enclosure.
Step 3: Connecting the Water Source to the Pump
- Install an Outlet on Your Water Source: If your rain barrel or cistern doesn’t have an outlet near the bottom, you’ll need to install a bulkhead fitting and spigot/hose barb.
- Connect the Intake Hose: Attach a sturdy hose from your water source outlet to the intake port of your solar pump.
- Crucial Tip: Always install a filter between your water source and the pump’s intake. This prevents debris from clogging your pump and drip emitters.
- Prime the Pump (if necessary): Some pumps are self-priming, but others may require you to fill the intake hose and/or pump housing with water to remove air before the pump can draw water efficiently. Consult your pump’s manual.
Step 4: Running Mainline Tubing to Your Raised Beds
- Connect Mainline: Attach your main drip irrigation tubing (usually 1/2″ or 3/4″ poly tubing) to the output port of your pump.
- Lay the Mainline: Run this mainline tubing from your pump to the vicinity of your raised beds. Use tubing stakes to secure it to the ground and prevent tripping hazards.
- End Cap: Cap the end of your mainline tubing. This creates pressure in the system.
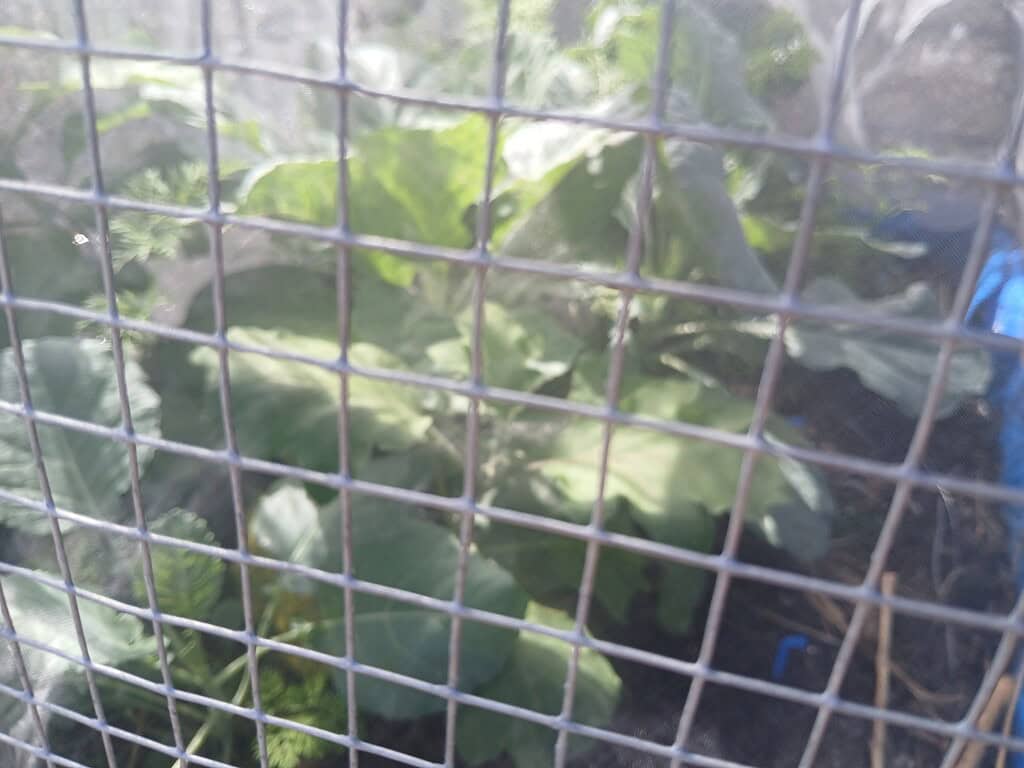
Step 5: Installing Drip Lines and Emitters in Your Raised Beds
- Punch Holes: Use a drip irrigation punch tool to create holes in your mainline tubing where you want to branch off to each raised bed.
- Connect Branch Lines: Insert barbed fittings (e.g., T-fittings or elbow fittings) into the punched holes and connect smaller diameter drip tubing (1/4″ or 1/2″) to run into and across your raised beds.
- Lay Drip Lines: Arrange the smaller drip lines within your raised beds to effectively water all your plants. You can run parallel lines or snake them around plants.
- Emitter Spacing: For raised beds, you often use inline drip tubing with emitters spaced every 6-12 inches, or individual adjustable drippers near specific plants.
- Secure Drip Lines: Use small tubing stakes to hold the drip lines in place within the raised beds.
- Cap Ends: Cap the ends of all drip lines within the raised beds to build pressure.
Step 6: Installing and Programming Your Automation Timer
- Integrate the Timer: Your specific solar pump system might have an integrated timer, or you might add an external 12V DC irrigation timer. Connect it according to its instructions, typically between the power source (solar panel/battery) and the pump.
- Program Watering Schedule: Set your timer for your desired watering frequency and duration.
- Tip: It’s usually better to water deeply and less frequently than shallowly and often. For raised beds, 15-30 minutes every 1-3 days (depending on weather, plant needs, and soil type) is a good starting point. Adjust as needed.
- Early Morning: Watering in the early morning minimizes evaporation and allows plants to absorb water before the heat of the day.
Step 7: Testing and Adjusting Your System
- Initial Test: With everything connected, run a manual cycle on your timer or briefly connect the pump directly to the solar panel (if applicable) to test the flow. Check for leaks at all connections.
- Observe Emitters: Walk through your raised beds and ensure water is flowing evenly from all emitters. If some areas are dry, you may need to adjust emitter placement or add more.
- Monitor Soil Moisture: After a few watering cycles, check the soil moisture levels in your raised beds. Dig down a few inches to ensure water is penetrating deeply enough. Adjust your timer’s duration as needed.
- Check Water Source: Regularly monitor your water source to ensure it doesn’t run dry!
Maintenance Tips for Long-Term Success
- Clean Filters: Periodically clean the filter on your pump’s intake to prevent clogs.
- Inspect Lines: Check drip lines for clogs, breaks, or animal damage.
- Panel Cleaning: Keep your solar panel clean of dust, dirt, and debris for optimal efficiency.
- Winterization: If you live in a freezing climate, drain all water from your pump, lines, and water source before winter to prevent damage.
Ready to Go Off-Grid and Grow!
Installing an automated solar pump system for your remote homestead’s raised bed garden is a truly rewarding project. It empowers you to cultivate a thriving garden with less effort, more sustainability, and true off-grid independence.
Useful Tools You Might Need:
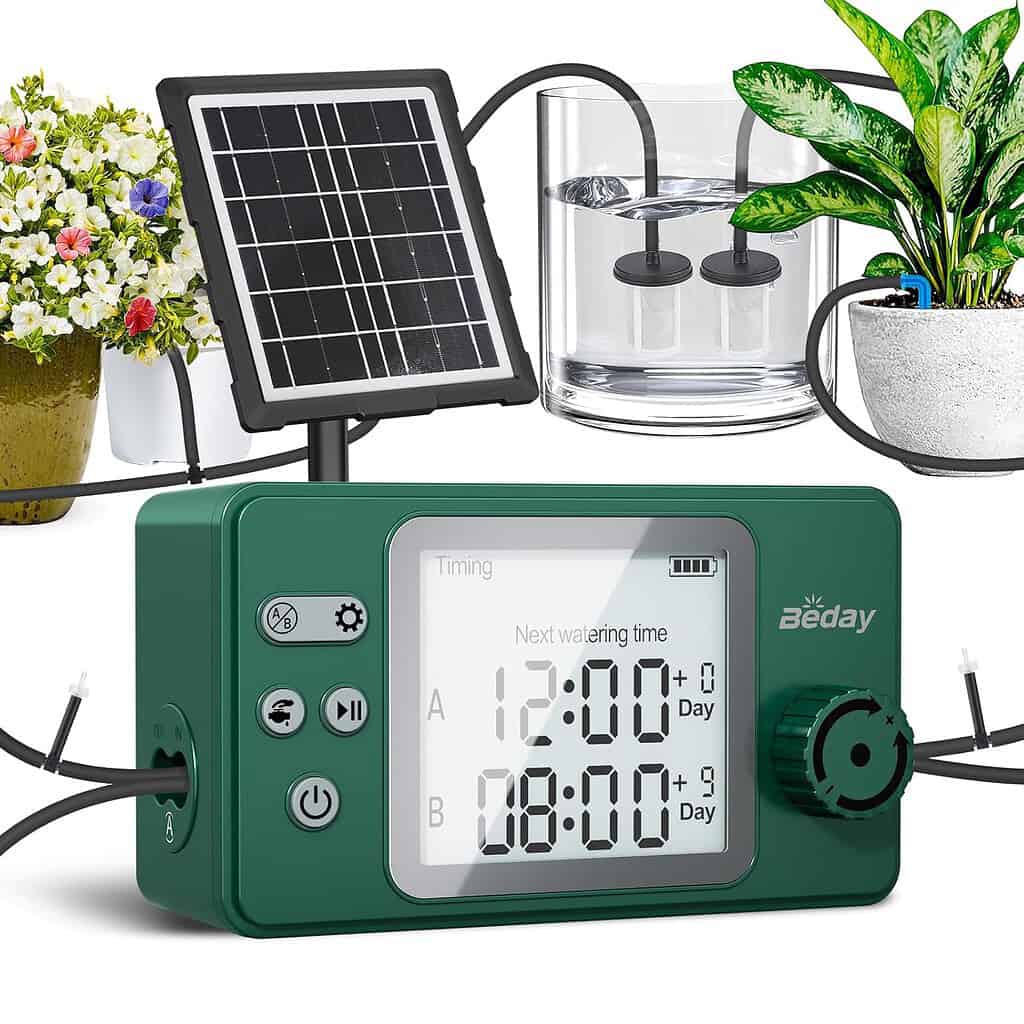
- Solar Water Pump Kit – Here’s the programmable solar powered water pump I am using, and it comes with everything you need, including the solar panel, drip lines, and emitter ports.
- Solar Panel (if not included)
- Water Tank/Rain Barrel
- Mainline Drip Tubing (1/2″ or 3/4″)
- Smaller Drip Tubing (1/4″)
- Drip Emitters or Inline Drip Tubing
- Assorted Drip Fittings (T-connectors, elbows, end caps, couplers)
- Tubing Punch Tool
- Tubing Stakes
- Hose Clamps
- Intake Filter
- Weatherproof Enclosure for Pump/Controller (optional)
#SolarPump #AutomatedWateringSystem #OffGridGardening #Homesteading #RaisedBedGarden #DIYirrigation #RemoteHomestead #DripIrrigation #SolarWaterPump #SustainableLiving #GardenHacks #SolarPower
Keywords: solar pump system, automated watering, remote garden, homesteading, raised bed drip irrigation, off grid water solution, solar powered irrigation, how to install a solar pump, DIY drip system, remote homesteading
- The HVAC Expiration Date: Why Your Back Will Give Out Before Your Ambition Does - March 18, 2026
- The Three Silent “Profit Parasites” Draining Your General Contracting Business (And How to Remove Them) - March 9, 2026
- Bot-Nets and Burnout: My Experience Producing Almost 1,000 Listings for Sage Zaree’s Rehab.com - March 7, 2026